
If you’re still choosing temporary traffic management (TTM) controls based on what’s available in your trailer, or what you’ve always used, you could be wasting time, money, or worse — putting people at risk. Without a clear understanding of what each control does, it’s easy to overlook critical hazards or over-engineer your site.
Contractors, councils, and project managers across New Zealand have typically relied on Waka Kotahi New Zealand Transport Agency’s (NZTA) prescriptive Code of Practice for Temporary Traffic Management (CoPTTM) to inform what TTM they use. However, with the introduction of the New Zealand Guide to Temporary Traffic Management (NZGTTM), the sector is transitioning to a more risk-based approach.
While the NZGTTM is a practical resource for those in charge of TTM, we find that clients often still have a level of uncertainty about what traffic controls are most suitable for their sites.
In this article, we’ll cover:
- How to identify TTM risks on site
- Assessing risk ahead of implementing controls
- What are the different types of TTM?
- A guide to temporary traffic management planning
Once you’ve made your way through it, you’ll have the assurance you need to plan your TTM sites smarter, create a safer work site, and avoid unnecessary complexity during the process.
How to Identify What Risks Need to Be Managed on Site
The safest sites don’t necessarily use the most gear. They use the right controls for the actual risk.
But not every control solves every problem. In fact, using too many pieces of equipment or placing them poorly can make things worse. You can block driver sight lines, confuse traffic, or create hazards you were trying to prevent.
Ask yourself:
- What risk are we trying to manage here?
- Why is this cone, barrier, or sign here?
- What specific risk does it address?
- Would removing it make the site less safe, or just less cluttered?
These types of questions lead to smarter choices and safer outcomes. Starting with risk helps you avoid overengineering. This is a trap that adds unnecessary cost and complexity without improving safety. When you plan based on hazards, you get the protection you need, nothing more, nothing less.
So, what’s the first step? It starts with a proper risk assessment.
Begin With a Clear Risk Assessment
Each organisation might approach risk assessments a little differently, but the fundamentals are always the same.
- Identify the hazards: What are the actual hazards, e.g vehicles crossing into work zones, pedestrian movements, or working close to live traffic?
- Rate the risk: Assess how likely those risks are to occur (likelihood) and how severe the consequences would be if they did (severity).
- Make a plan: Determine what’s reasonably practicable to manage it.
That means first spotting the actual hazards, like vehicles crossing into work zones, pedestrian movements, or working close to live traffic. Then, assess how likely those risks are to occur (likelihood) and how severe the consequences would be if they did (severity).
Only then can you make informed decisions about what controls are appropriate. This process must come before you decide what gear to use. Choosing equipment before understanding the problem leads to mismatched controls and missed risks.
Sometimes, fewer controls are the right answer. Other times, a layered approach may be needed—combining signage, barriers, and administrative controls to achieve the right level of protection.
Need a framework or examples? The NZTA TTM Library offers helpful tools and case-based examples for risk-based TTM planning.
Administrative Controls First, Physical Controls Second
Choosing controls before assessing risk is like packing before checking the weather.
It’s tempting to jump straight into “what gear do we need?”, especially when you’re juggling tight timelines, multiple crews, or limited stock. However, this shortcut often leads to wasted time, increased costs, or worse, false confidence in a mismatched setup.
Effective TTM begins with understanding the environment, identifying the actual hazards, and then selecting controls that directly address them.
Ask yourself:
- Why is this cone, barrier, or sign here?
- What specific risk does it address?
- Would removing it make the site less safe, or just less cluttered?
When risk leads the decision, safety and efficiency follow.
What Are the First Steps?
The most effective TTM setups combine physical tools with smart planning and trained people.
It’s easy to focus on the things you can see, like cones, signs, and barriers, because they’re tangible and visible. But effective TTM requires more than just physical controls. The invisible layers matter just as much.
These administrative controls include things like training your crew to recognise hazards, documenting a risk-based traffic management plan, or ensuring you’ve secured the right permits before the work begins. These steps may not be visible from the road, but they’re critical to safety.
Without these foundational pieces, even the best-placed cones or barriers won’t deliver full protection. Physical controls create the visible structure; administrative controls ensure they’re used consistently, correctly, and legally.
Think of it this way: physical controls help you respond to known risks, but admin controls allow you to prevent them in the first place. How? Through proactive systems and behaviours that reduce the chance of the risk happening in the first place.
What Different TTM Controls Do (And Don’t Do)
Every TTM control has a job and a limit. Knowing both is how you avoid mismatches and waste.
To make smarter choices, you need to understand what each piece of TTM equipment is designed to manage and what it can’t do.
For example, a truck-mounted attenuator doesn’t prevent a crash, it reduces how severe that crash might be. Cones don’t stop vehicles, they guide them. If you expect more from a control than it’s built to deliver, you’re creating gaps in protection.
Each control must be tied directly to a specific, identified risk. Without that connection, even robust gear may be unnecessary, misused, or give a false sense of security.
In the sections below, we break down common TTM tools, what hazards and risks they manage, and just as importantly, what they don’t.
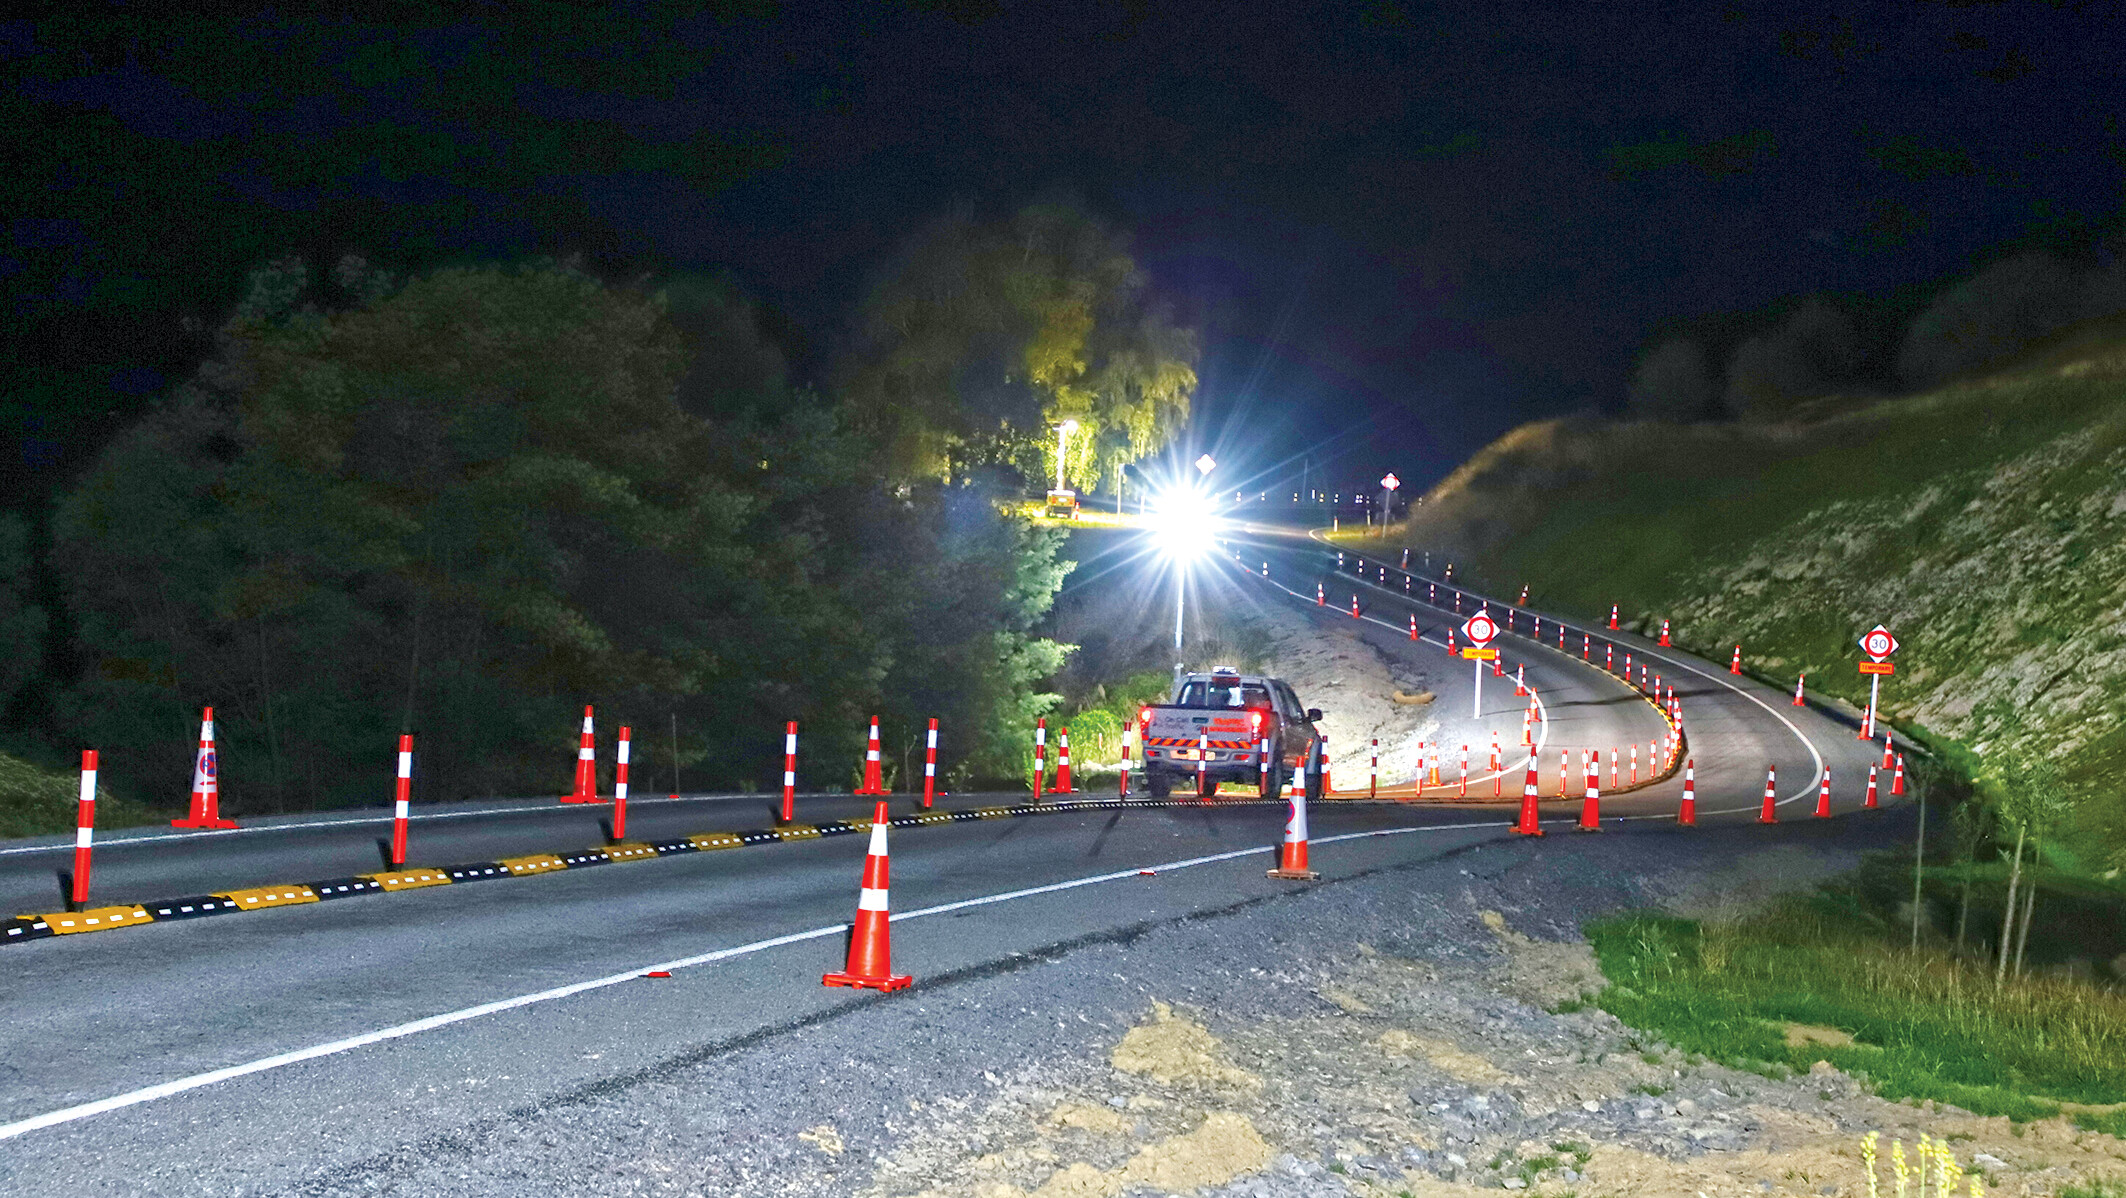
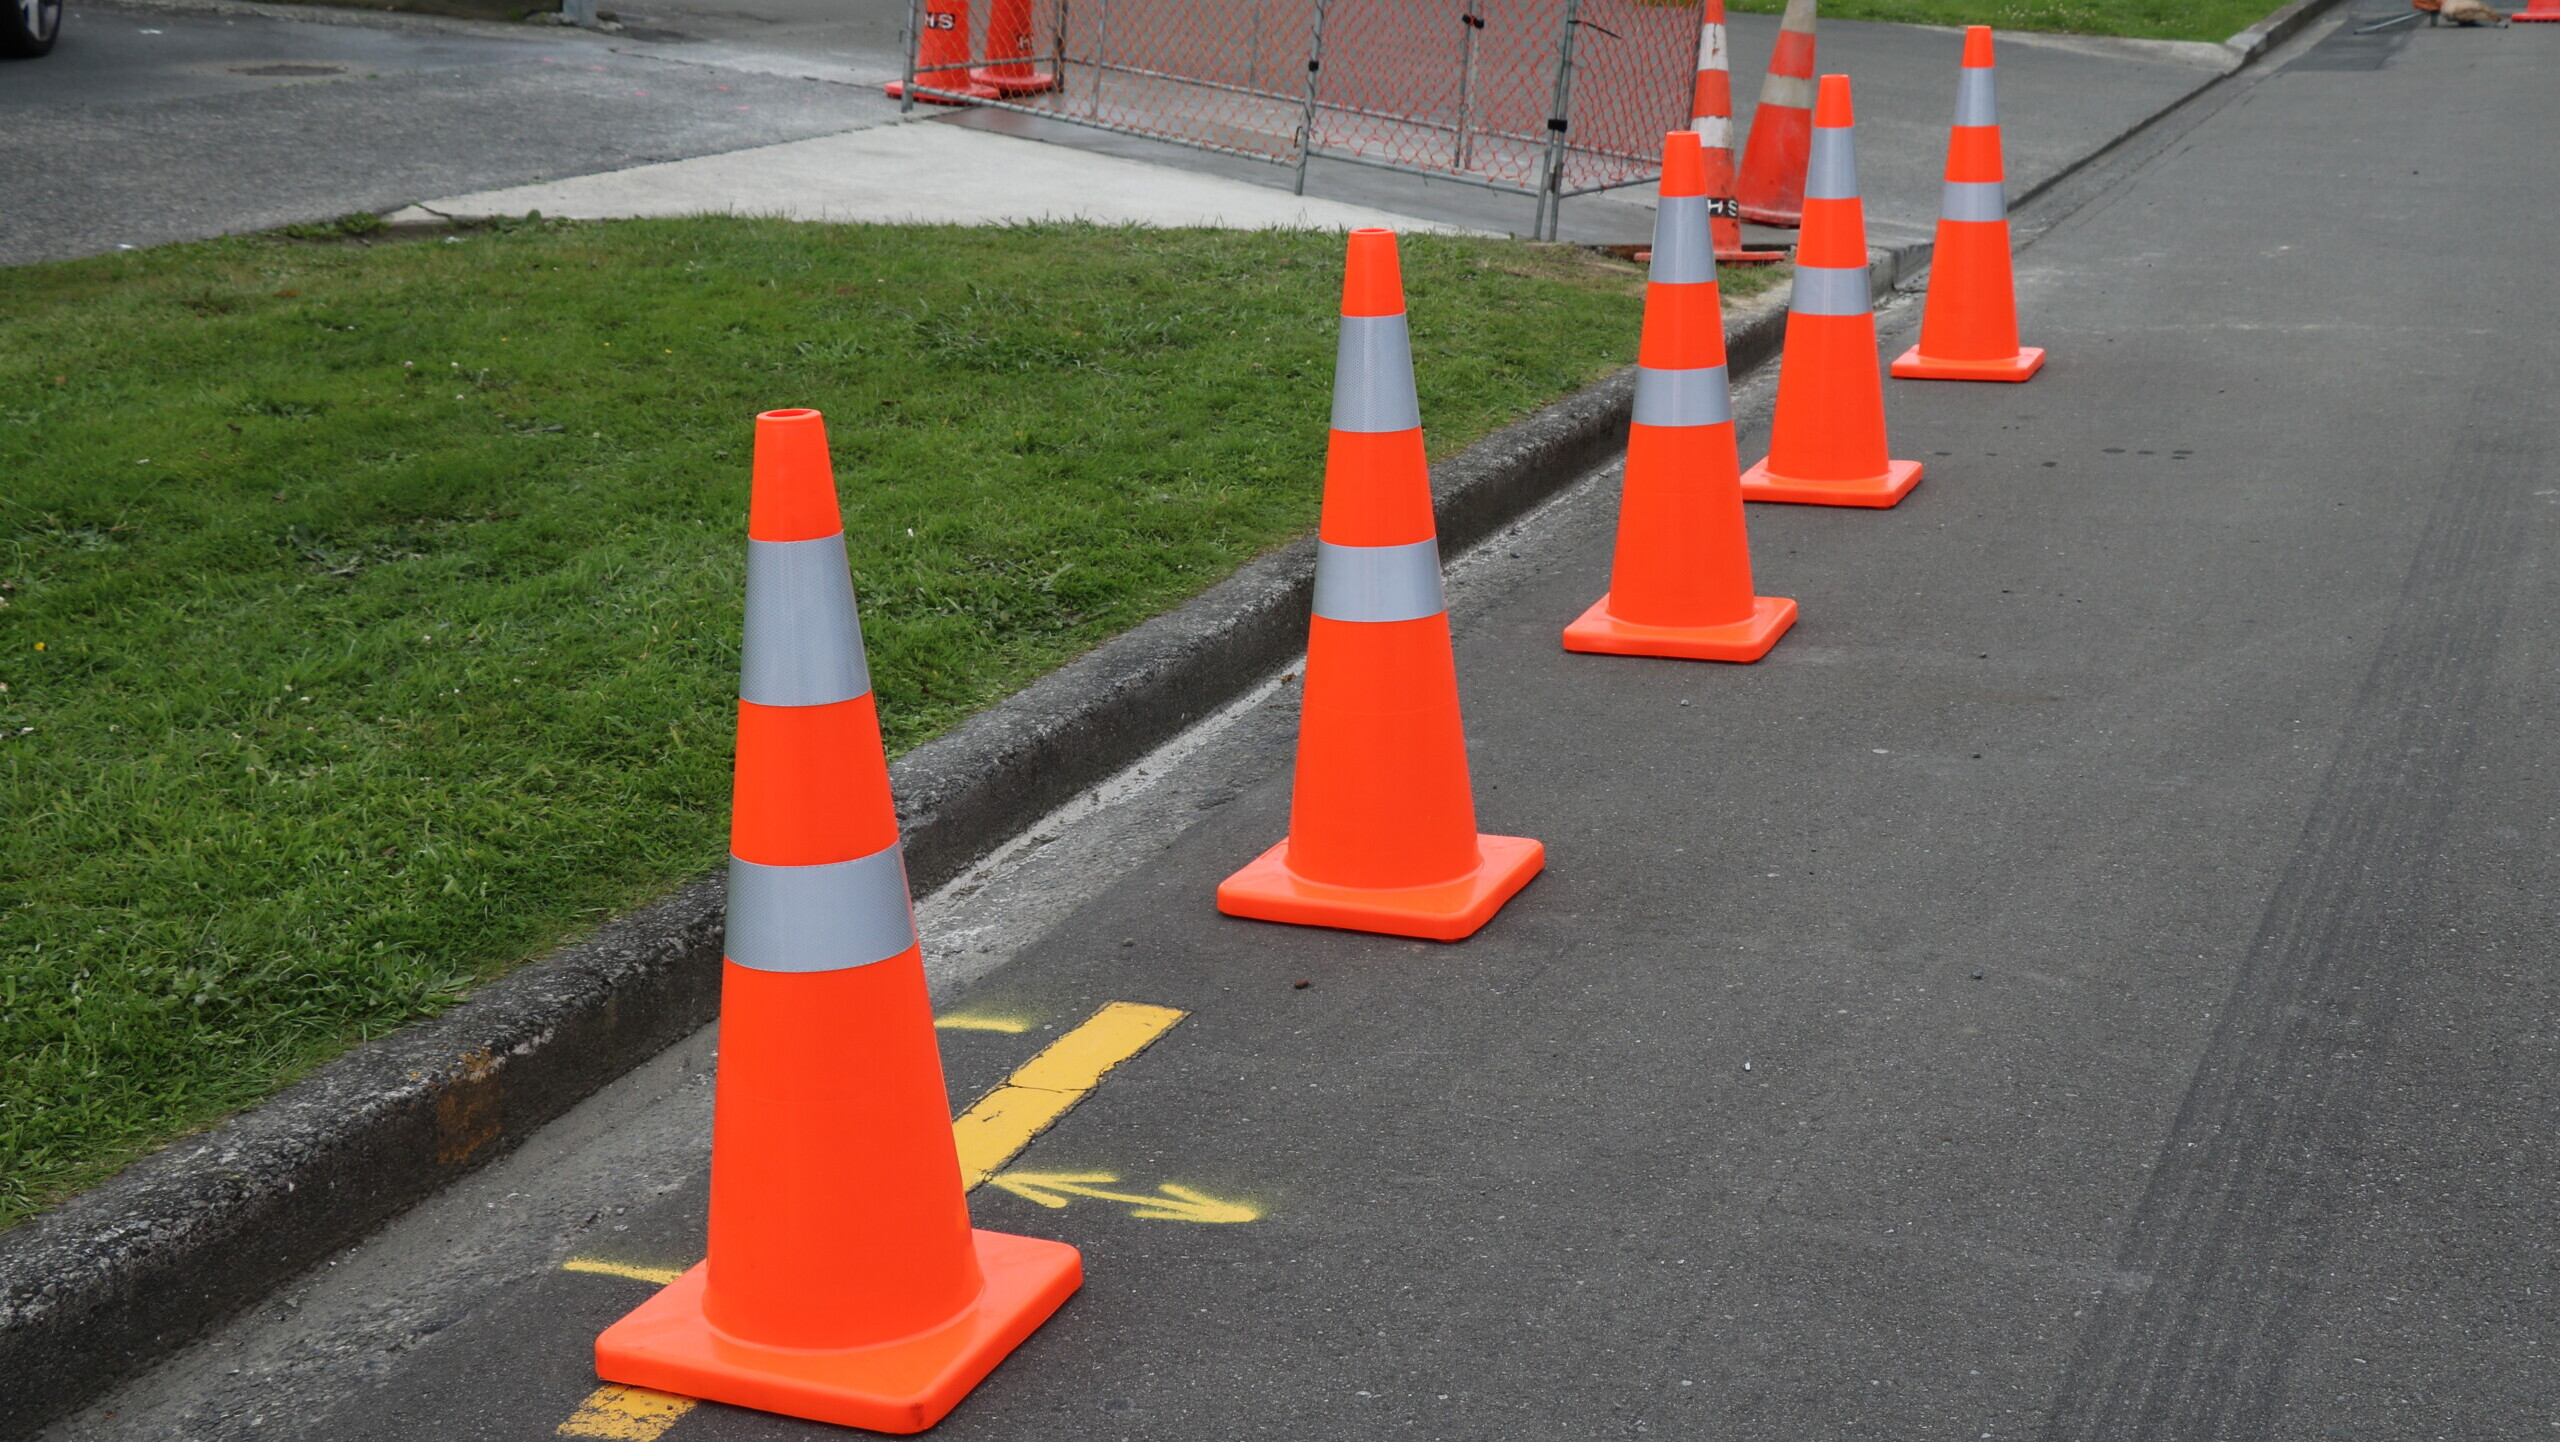
Road Cones
Cones are visual cues. They direct drivers but don’t physically protect your crew.
- Hazard: Unclear traffic paths or temporary lane boundaries.
- Risk: Vehicles accidentally entering work zones or striking workers.
- Manages: Provides visual guidance to drivers for navigating temporary lanes or avoiding work zones. Helps define safe zones and traffic paths (when visibility is clear). Offers flexible placement for quick setup and minor works.
- Does not manage: Does not physically stop vehicles from entering the work area. Stay effective without constant monitoring, it can be knocked over or displaced. Not for high-risk or high-speed sites without additional layers of control.
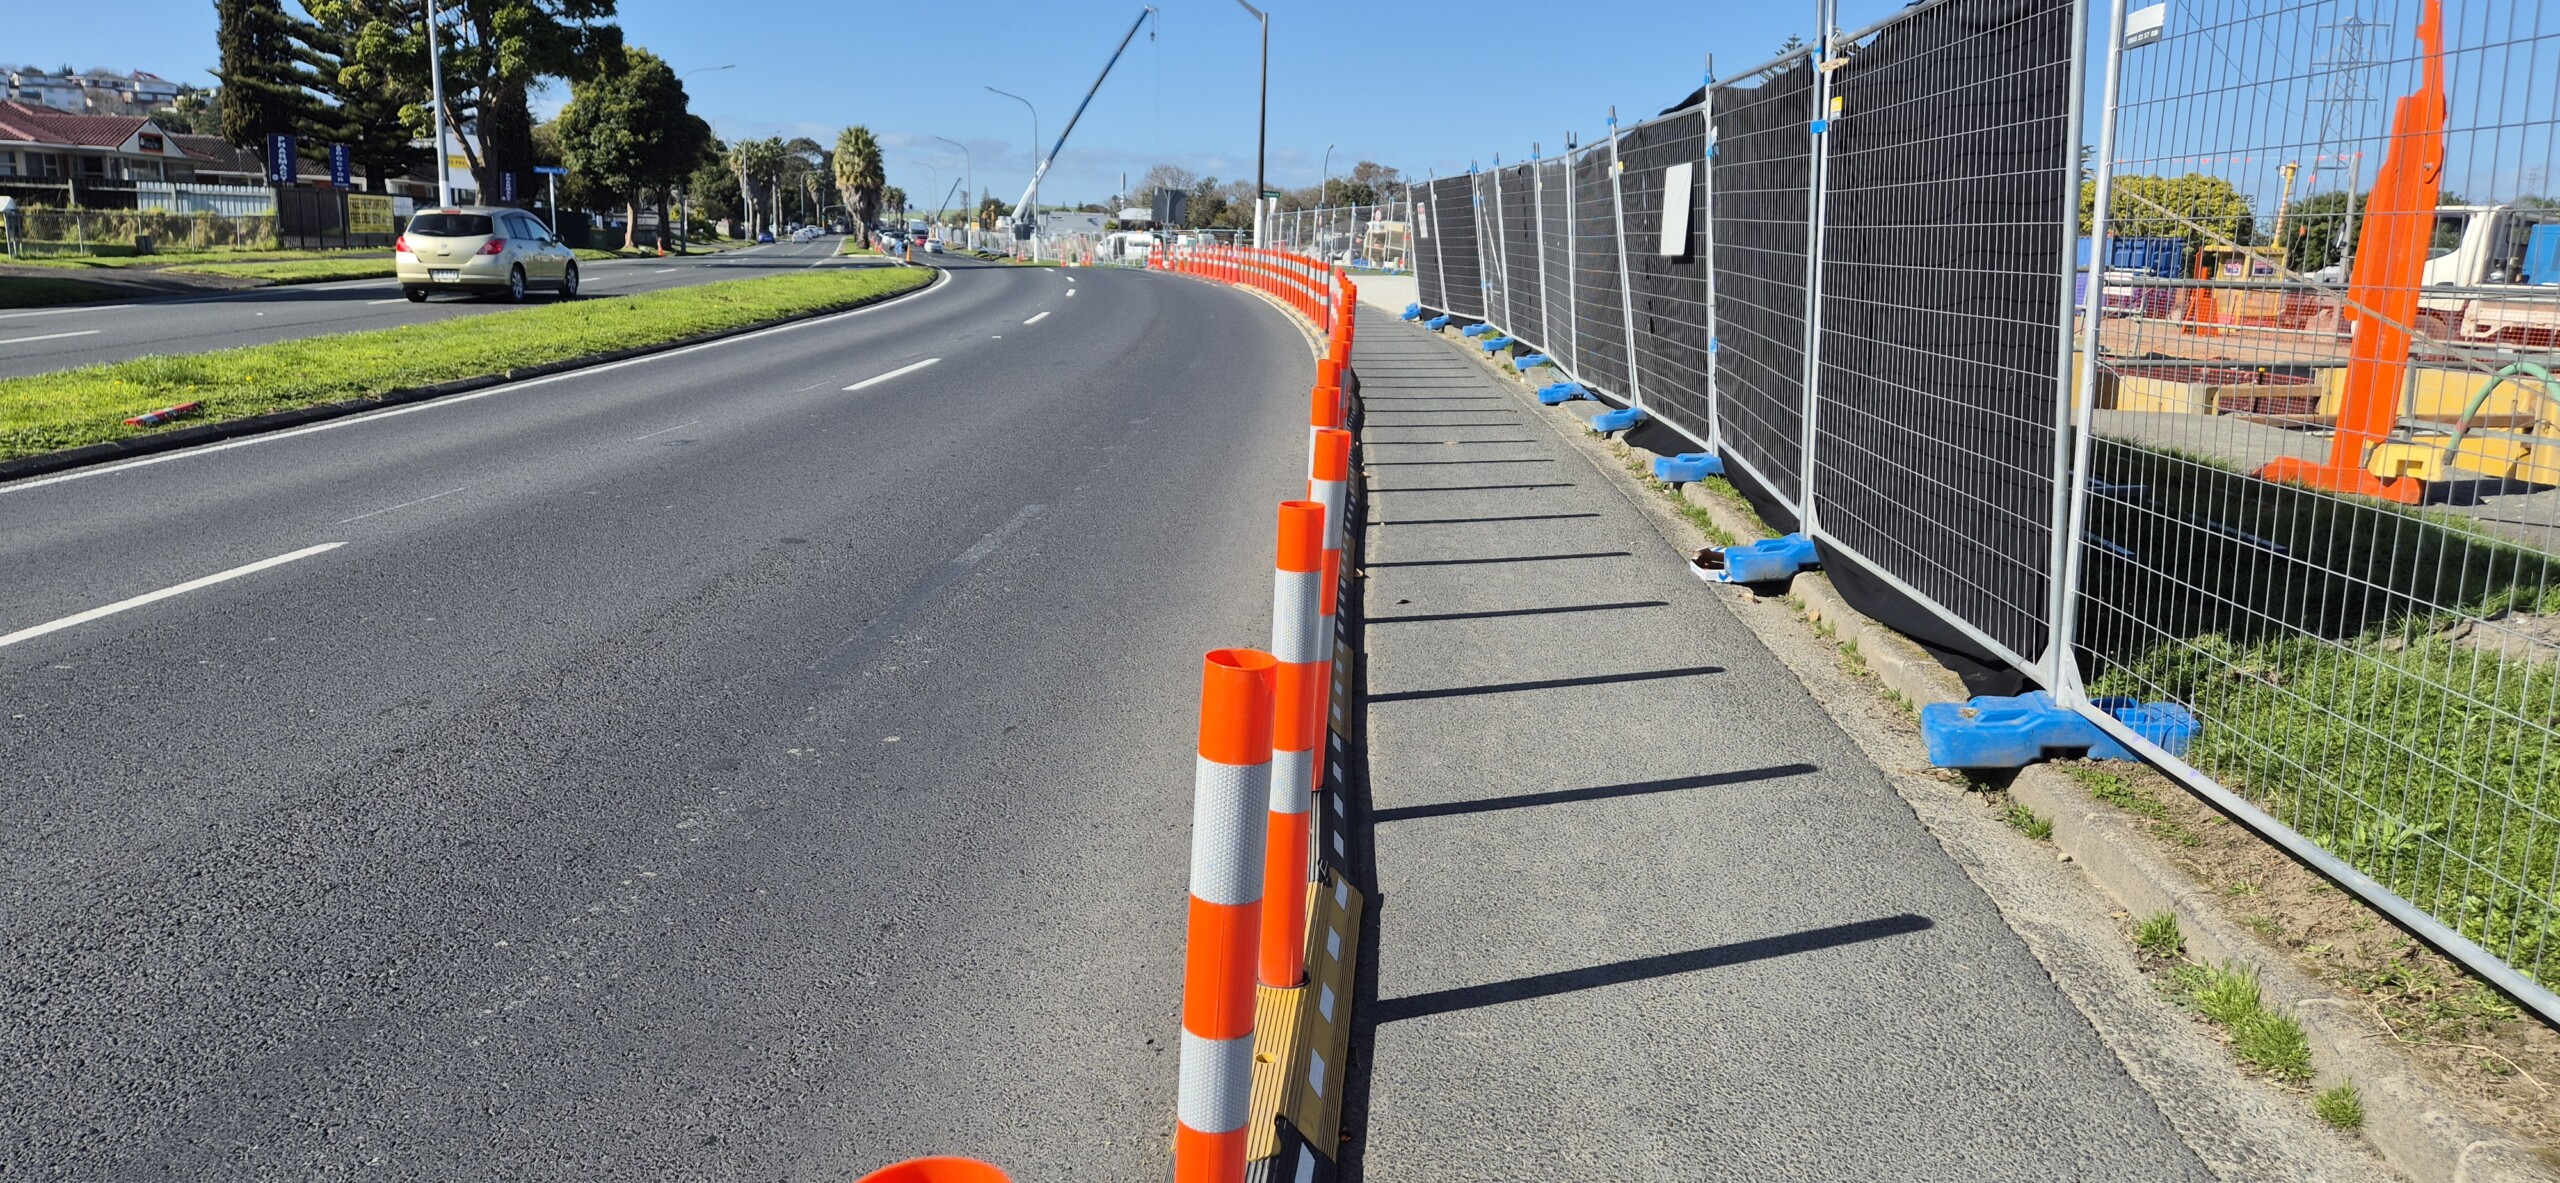
Lane Delineators
Delineators clarify traffic flow, but they won’t stop a vehicle in its tracks.
- Hazard: Vehicle encroachment into work areas/unclear traffic paths through site.
- Risk: Collision between vehicles and workers or work equipment.
- Manages: Clearly defines a boundary between live lanes and work zones. Reduces driver confusion by maintaining consistent lane paths. Minimal maintenance compared to cones, reducing workers’ time in live lanes.
- Does not manage: Does not provide physical protection from vehicles. Stop or redirect vehicles if they breach lanes. Replace the need for more robust barriers on high-risk sites.
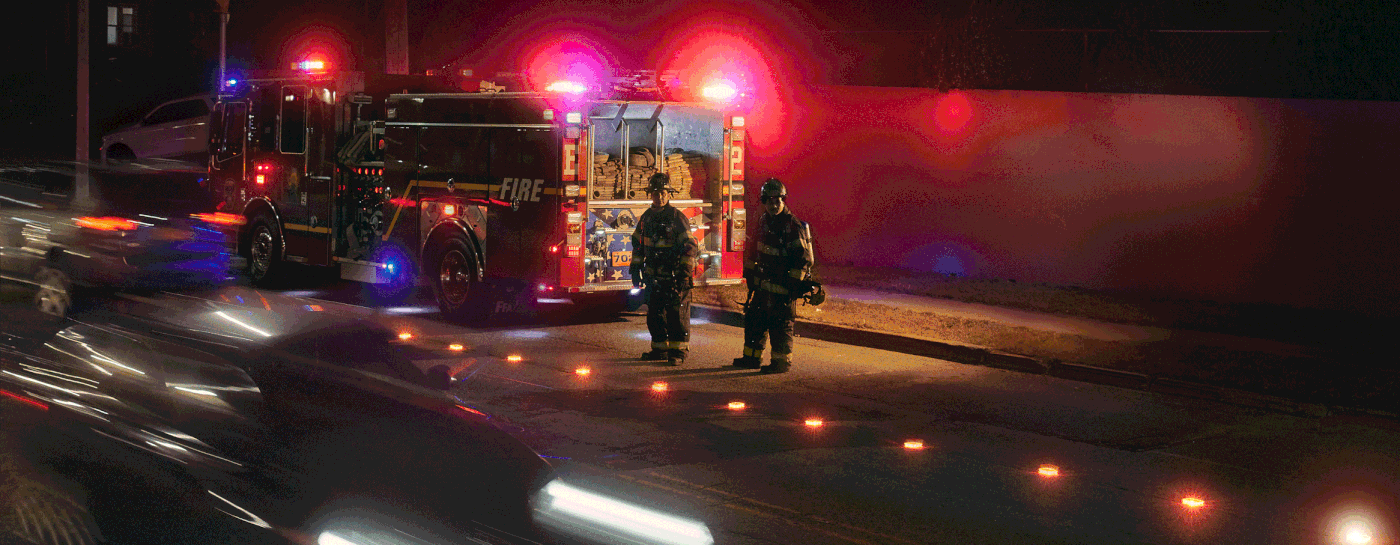
LED Sequential Flares
Led Sequential Flares catch the driver’s eye, but they won’t stop the vehicle.
- Hazard: Poor visibility in low-light or night-time work areas.
- Risk: Drivers failing to see work areas or safely navigate through the site.
- Manages: Improves driver awareness in low-light or night-time conditions. Guide drivers through complex layouts. Enhances early warning visibility from a distance, improving reaction time.
- Does not manage: Does not provide any physical protection from vehicles.
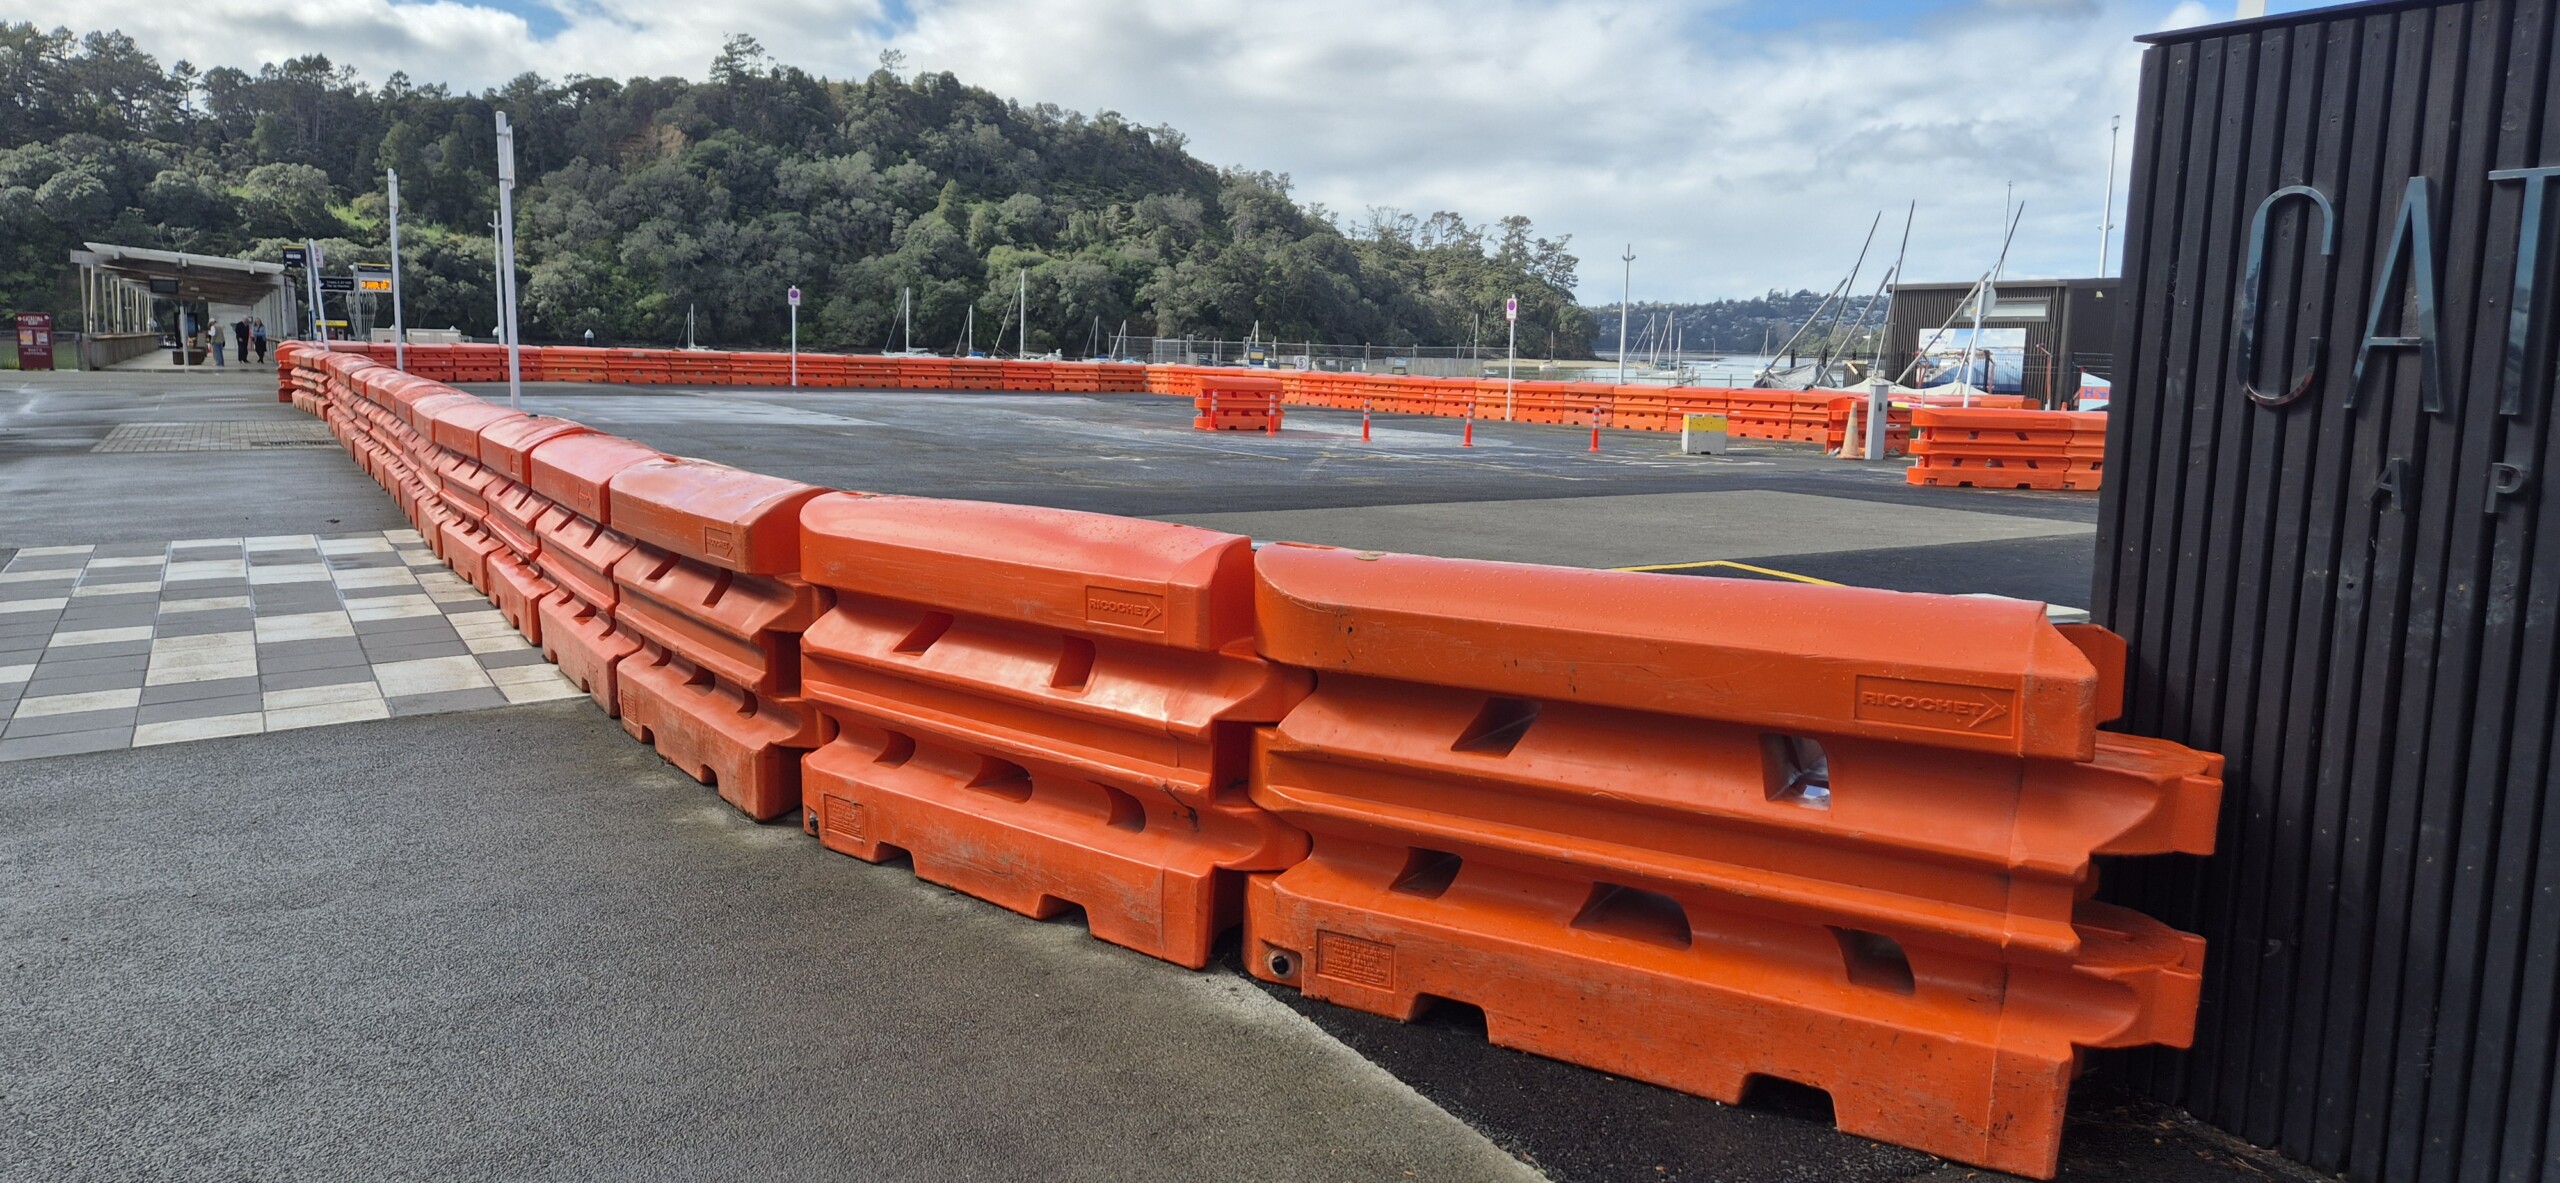
Temporary Barriers
Barriers redirect impact, but only if they are the right type, in the right place.
- Hazard: Vehicles straying into protected work zones.
- Risk: Severe worker injury or equipment damage from vehicle intrusion.
- Manages: Physically separates traffic from workers or hazards in high-risk environments. Absorbs and redirects the force of vehicle impact (depending on the type, like water-filled, concrete, or steel barriers). Protects people and equipment when installed correctly.
- Does not manage: Does not entirely eliminate vehicle incursion risk – no temporary barrier is failproof, especially at high speeds. Work without proper anchoring, alignment or sufficient tapering distance. Replace the need for driver awareness controls, like signs.
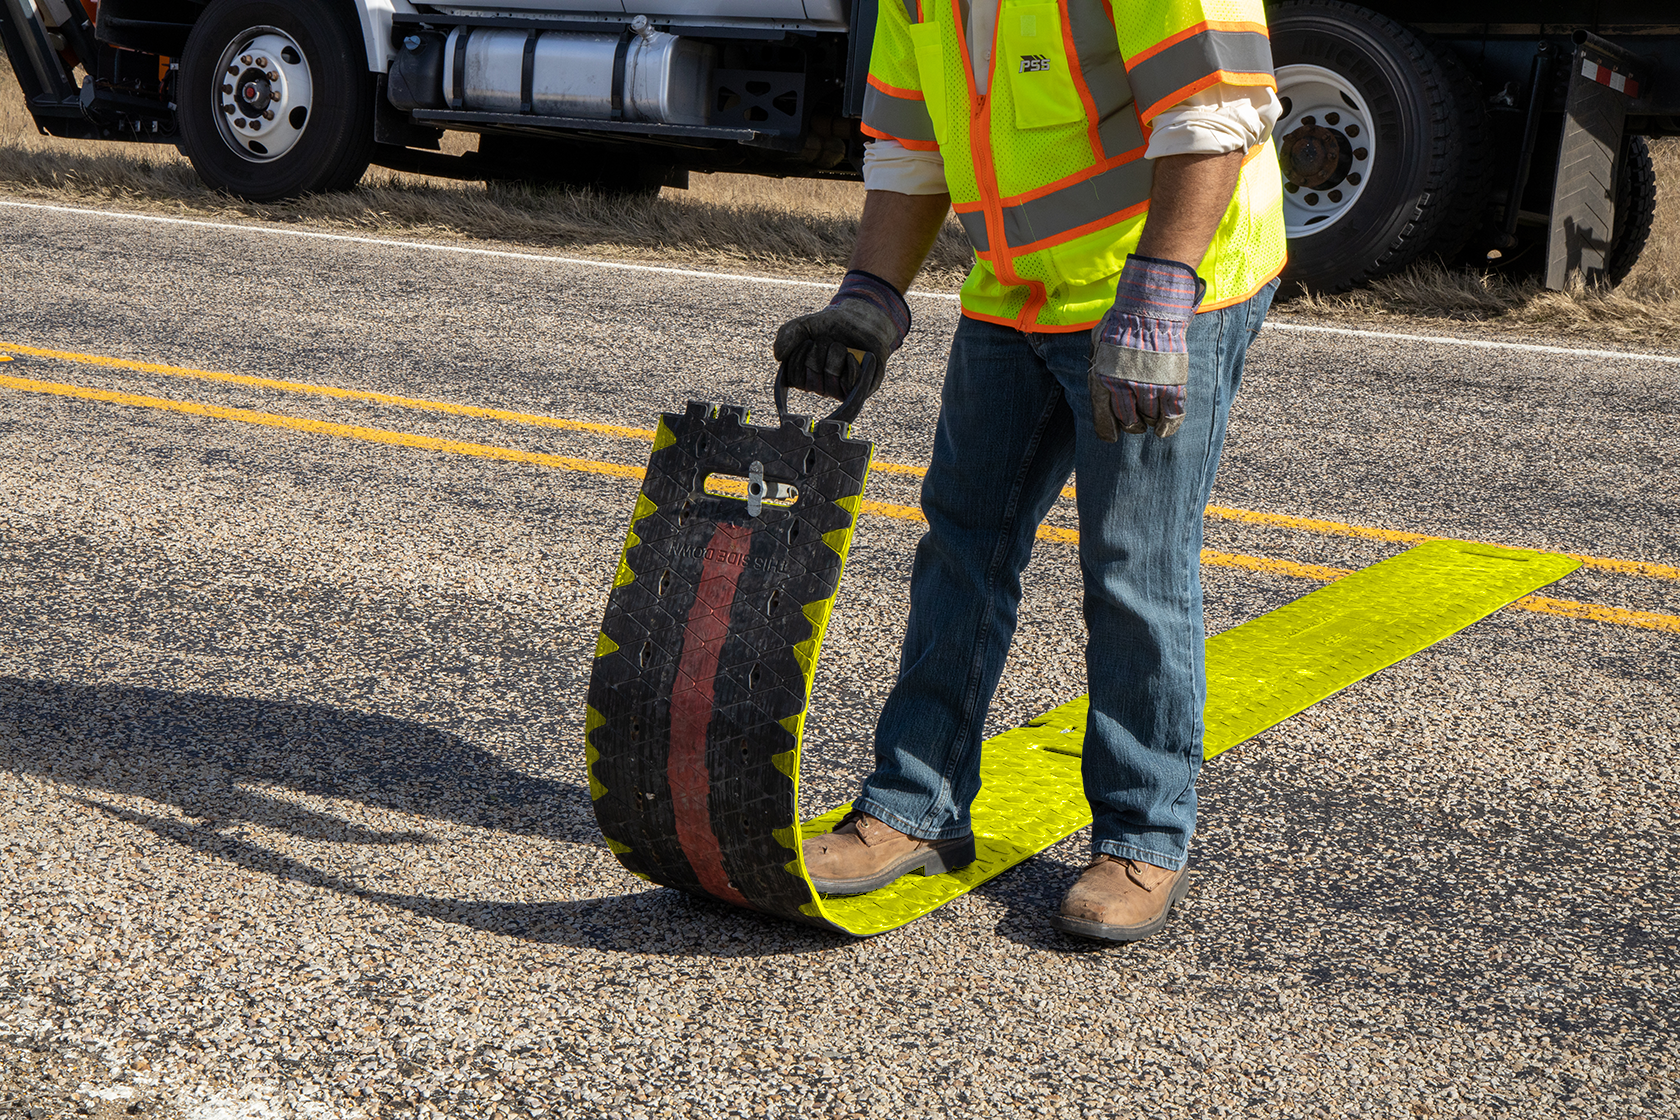
Portable Rumble Strips
These grab attention, but they can’t force drivers to slow down.
Hazard: Drivers approaching worksites at excessive speed or while distracted.
Risk: High-speed vehicle entry into active work areas.
Manages: Provides tactile and audible feedback to alert drivers as they are approaching a worksite. Enhances driver awareness, particularly where visual cues alone may be overlooked. Encourages earlier deceleration before critical areas, like lane shifts or pedestrian crossings.
Does not manage: Does not physically reduce vehicle speed or stop entry into work zones. Replace the need for signs, barriers or police enforcement in high-speed areas. Stay in place without a correct set-up and monitoring.
Signage
Signs communicate what to do, but they can’t force drivers to do it.
Hazard: Lack of information or unclear directions for drivers.
Risk: Drivers making unsafe decisions or entering work zones in error.
Manages: Provides warning of upcoming work zones, speed changes, detours, and hazards. Helps drivers make safe decisions when clear, visible and at the right distance. Supports overall flow by giving context and instructions.
Does not manage: Does not guarantee compliance – drivers may ignore or misinterpret signs. Function well if obscured, poorly positioned or illegible. Replace the need for physical or administrative controls on high-risk sites.

Temporary Line Marking Tape
These guide wheels and eyes, but won’t stop a vehicle.
Hazard: Confusion over traffic paths in work areas.
Risk: Vehicles entering unintended areas or making unsafe movements.
Manages: Clearly defines temporary lanes, shoulders, or traffic flow changes during works. Reduces driver hesitation and confusion, especially in low-light conditions or complex layouts. Removes cleanly to avoid ghost lines from paint that can mislead drivers after works are complete.
Does not manage: Does not provide any physical protection for workers or equipment. Replace the need for barriers or cones in zones with proximity hazards. Control vehicle behaviour—relies entirely on driver interpretation and compliance.

Modular Rubber Roundabouts
Modular Rubber Roundabouts calm traffic flow and reduce speed, but can’t stop all collisions.
Hazard: Excessive vehicle speed and unclear traffic flow at intersections.
Risk: Side-impact or head-on collisions between vehicles.
Manages: Reduces vehicle speed at intersections and complex traffic merge points. Guides vehicles into safer turning movements, minimising angle and head-on impacts. Improves traffic control temporarily without major civil works.
Does not manage: Does not eliminate driver error — improper use or confusion can still lead to incidents. Physically stop vehicles from ignoring right-of-way or cutting across lanes. Work without proper signage, layout clarity, or driver awareness.

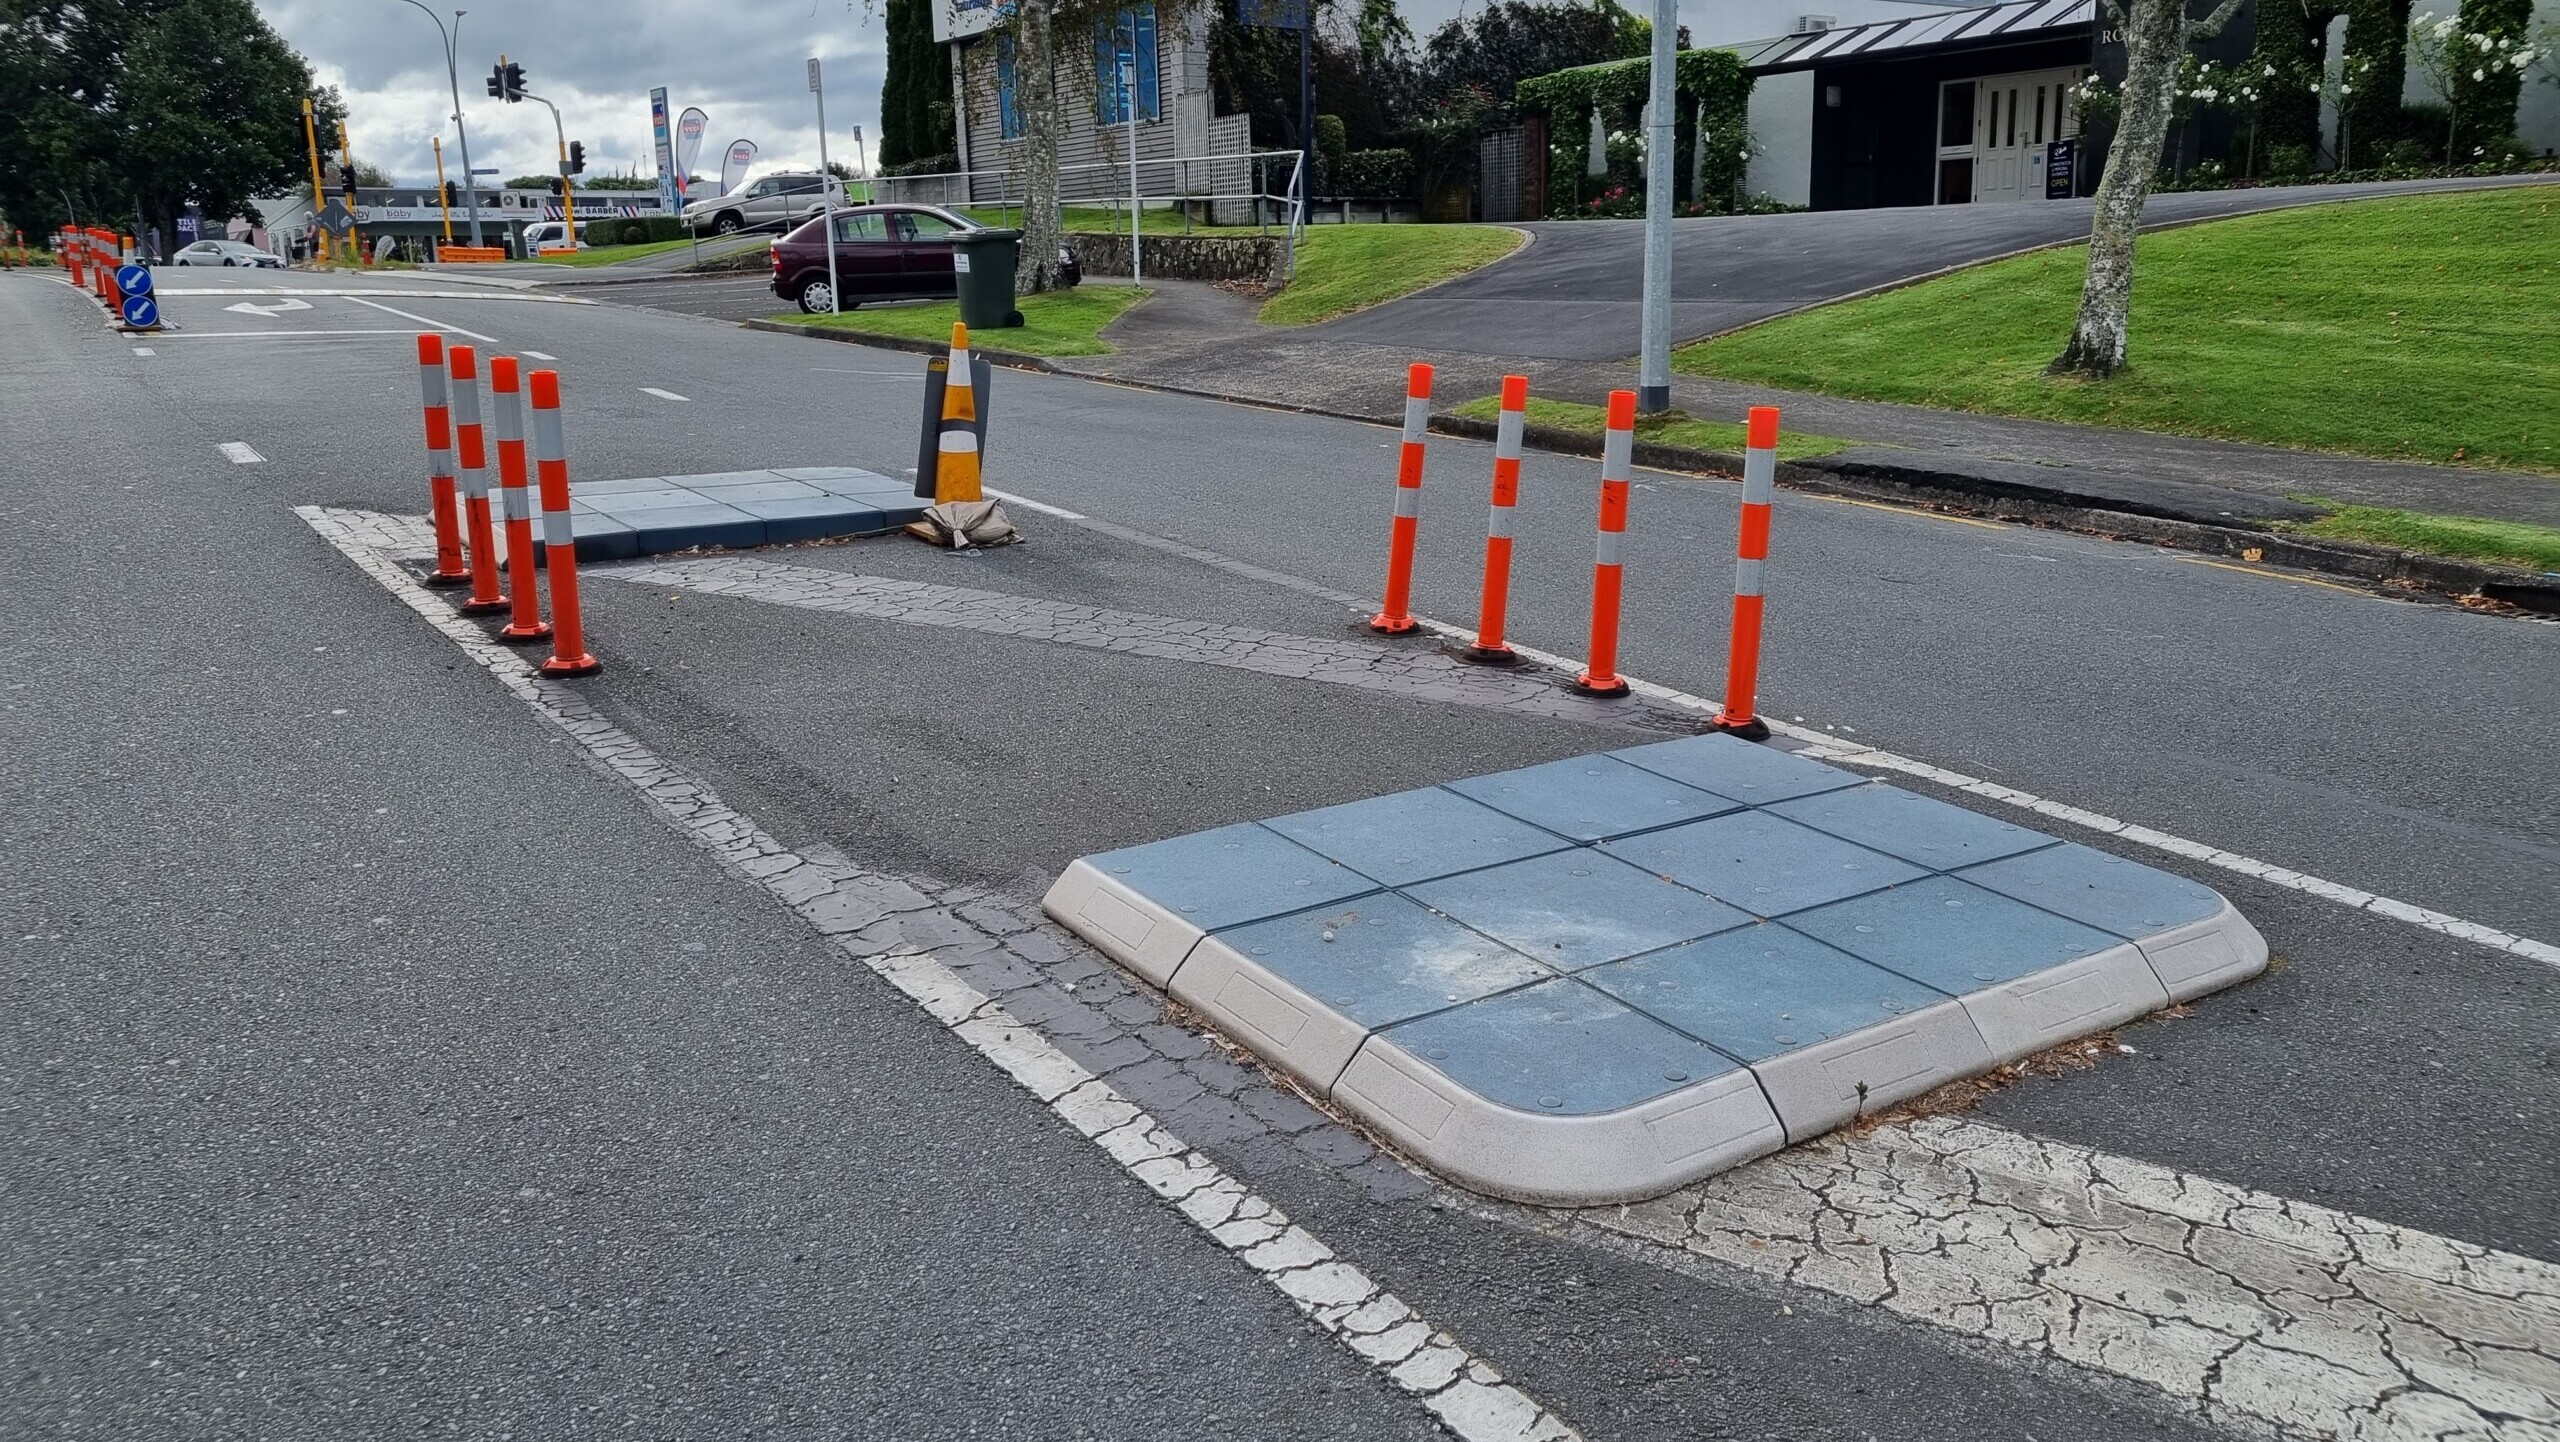
Rubber Traffic Islands
Temporary Pedestrian Islands provide pedestrians with a safer pause point, not a force field.
Hazard: Pedestrians crossing active roadways.
Risk: Pedestrians struck by vehicles when crossing traffic lanes.
Manages: Provides a protected midpoint for pedestrians crossing multi-lane or high-traffic roads. Improves visibility and predictability for both drivers and pedestrians. Encourages drivers to slow down and stay in their lanes.
Does not manage: Does not prevent all vehicle-pedestrian collisions, especially if drivers are distracted or non-compliant. Work without proper placement, visibility, and signage. Replace the need for traffic signals or stop/go control in busy or high-speed areas.
Understanding Before Implementing: Plan With Purpose
Just because you have the gear doesn’t mean you should use it.
We’ve seen that more TTM doesn’t always equate to greater safety. In fact, piling on controls without a clear reason can increase confusion, costs, and site risk.
Risk-based TTM is about purpose.
It’s about aligning each control with a specific hazard, taking into account the environment, the nature of the work, and how the site operates. The best setups aren’t the ones with the most gear; they’re the ones where every control serves a defined, necessary purpose.
That requires slowing down at the planning stage, asking the right questions, and resisting the urge to “over-protect” out of habit or pressure.
When you understand what each piece of equipment does, and what it doesn’t, you gain confidence in your decisions, avoid unnecessary complexity, and deliver safer outcomes for workers and road users.
Need Help With Your TTM Controls?
Take a look at your next worksite plan and ask yourself: Are the controls clearly solving identified hazards, or are they just filling space?
Remember, not all TTM controls are created equal, and more isn’t always better. The safest sites match the right controls to the real risks.
If you’ve ever wondered whether your site is overdone or under-protected, you’re not alone. That uncertainty disappears when you’re able to shift your approach from equipment-first to risk-first.
We’ve helped hundreds of contractors reduce risk: not just by supplying the right gear, but by helping you think through the right approach.
If you’re still unsure which TTM controls are right for your site, we’re here to help. Whether you need a sounding board or end-to-end solution support, Vanguard’s team is here to guide you through smarter, safer choices.
Need a real-world example? Check out our Case Study “How Auckland System Management Used Portable Rumble Strips to Prevent Traffic Breaches”.