
Safety barriers can transform your workplace, but they need to be installed properly to do so. Many warehouse owners may not be aware of what needs to be done ahead of an install. Skipping crucial steps can lead to delays, added costs, or unsafe installations.
So, before you start unboxing and grabbing your drill, you need to make sure your site is fully ready. From utility checks to selecting the right surface and installers, getting this right will ensure a smooth, safe, and effective installation.
This article walks you through 10 essential steps to ensure your site is ready for a safe, compliant and efficient installation:
- Decide on the installation team
- Confirm barrier placement
- Locate underground utilities
- Check surface type
- Prepare concrete footings
- Remove obstructions and plan clearance
- Gather tools and safety gear
- Understand compliance requirements
- Document everything
- Prioritise safety
Let’s take a deeper look.
Who is this guide for?
If you are considering barriers and bollards at your worksite, or have already made a purchase, this guide will help you understand what you need to do before putting them in the ground. Checking off the ten steps makes sure your site is ready so you won’t waste time or money or introduce new safety risks. You might not need all the steps, but knowing what is involved enables you to make better decisions.
Step 1: Decide if it’s a DIY or professional installation
You need to be confident in your installation. DIY only if you have the skills.
Ask yourself:
- Do you have the tools?
- Do you understand compliance rules?
- Are you confident anchoring to concrete?
If you answered no, or maybe? We recommend using a Vanguard professional installer to ensure compliance and reliability. Our team will quote installation as part of your project if, or we can quote ‘supply-only’ if you want to install it yourself.
Watch How Vanguard Installs our SlowStop Bollard into concrete
Step 2: Confirm barrier placement with a final risk check
Before you install anything, double-check your placement against your risk assessment. This is your best chance to prevent errors.
Even though you’ve already chosen your safety barriers, take one last walk around your site with your specific goals in mind. It’s much easier to make any changes before your new hardware is installed on the ground. It’s a good idea to include your team in the placement discussions, even if you have already in the planning stage.
- Double-check the risk assessment. Are there any changes since your initial assessment?
- Are you absolutely sure the chosen locations will adequately protect the assets, people or areas you’ve identified as high?
- Visualise the impact by imagining vehicles and people moving through the space.
This quick review can prevent costly mistakes.
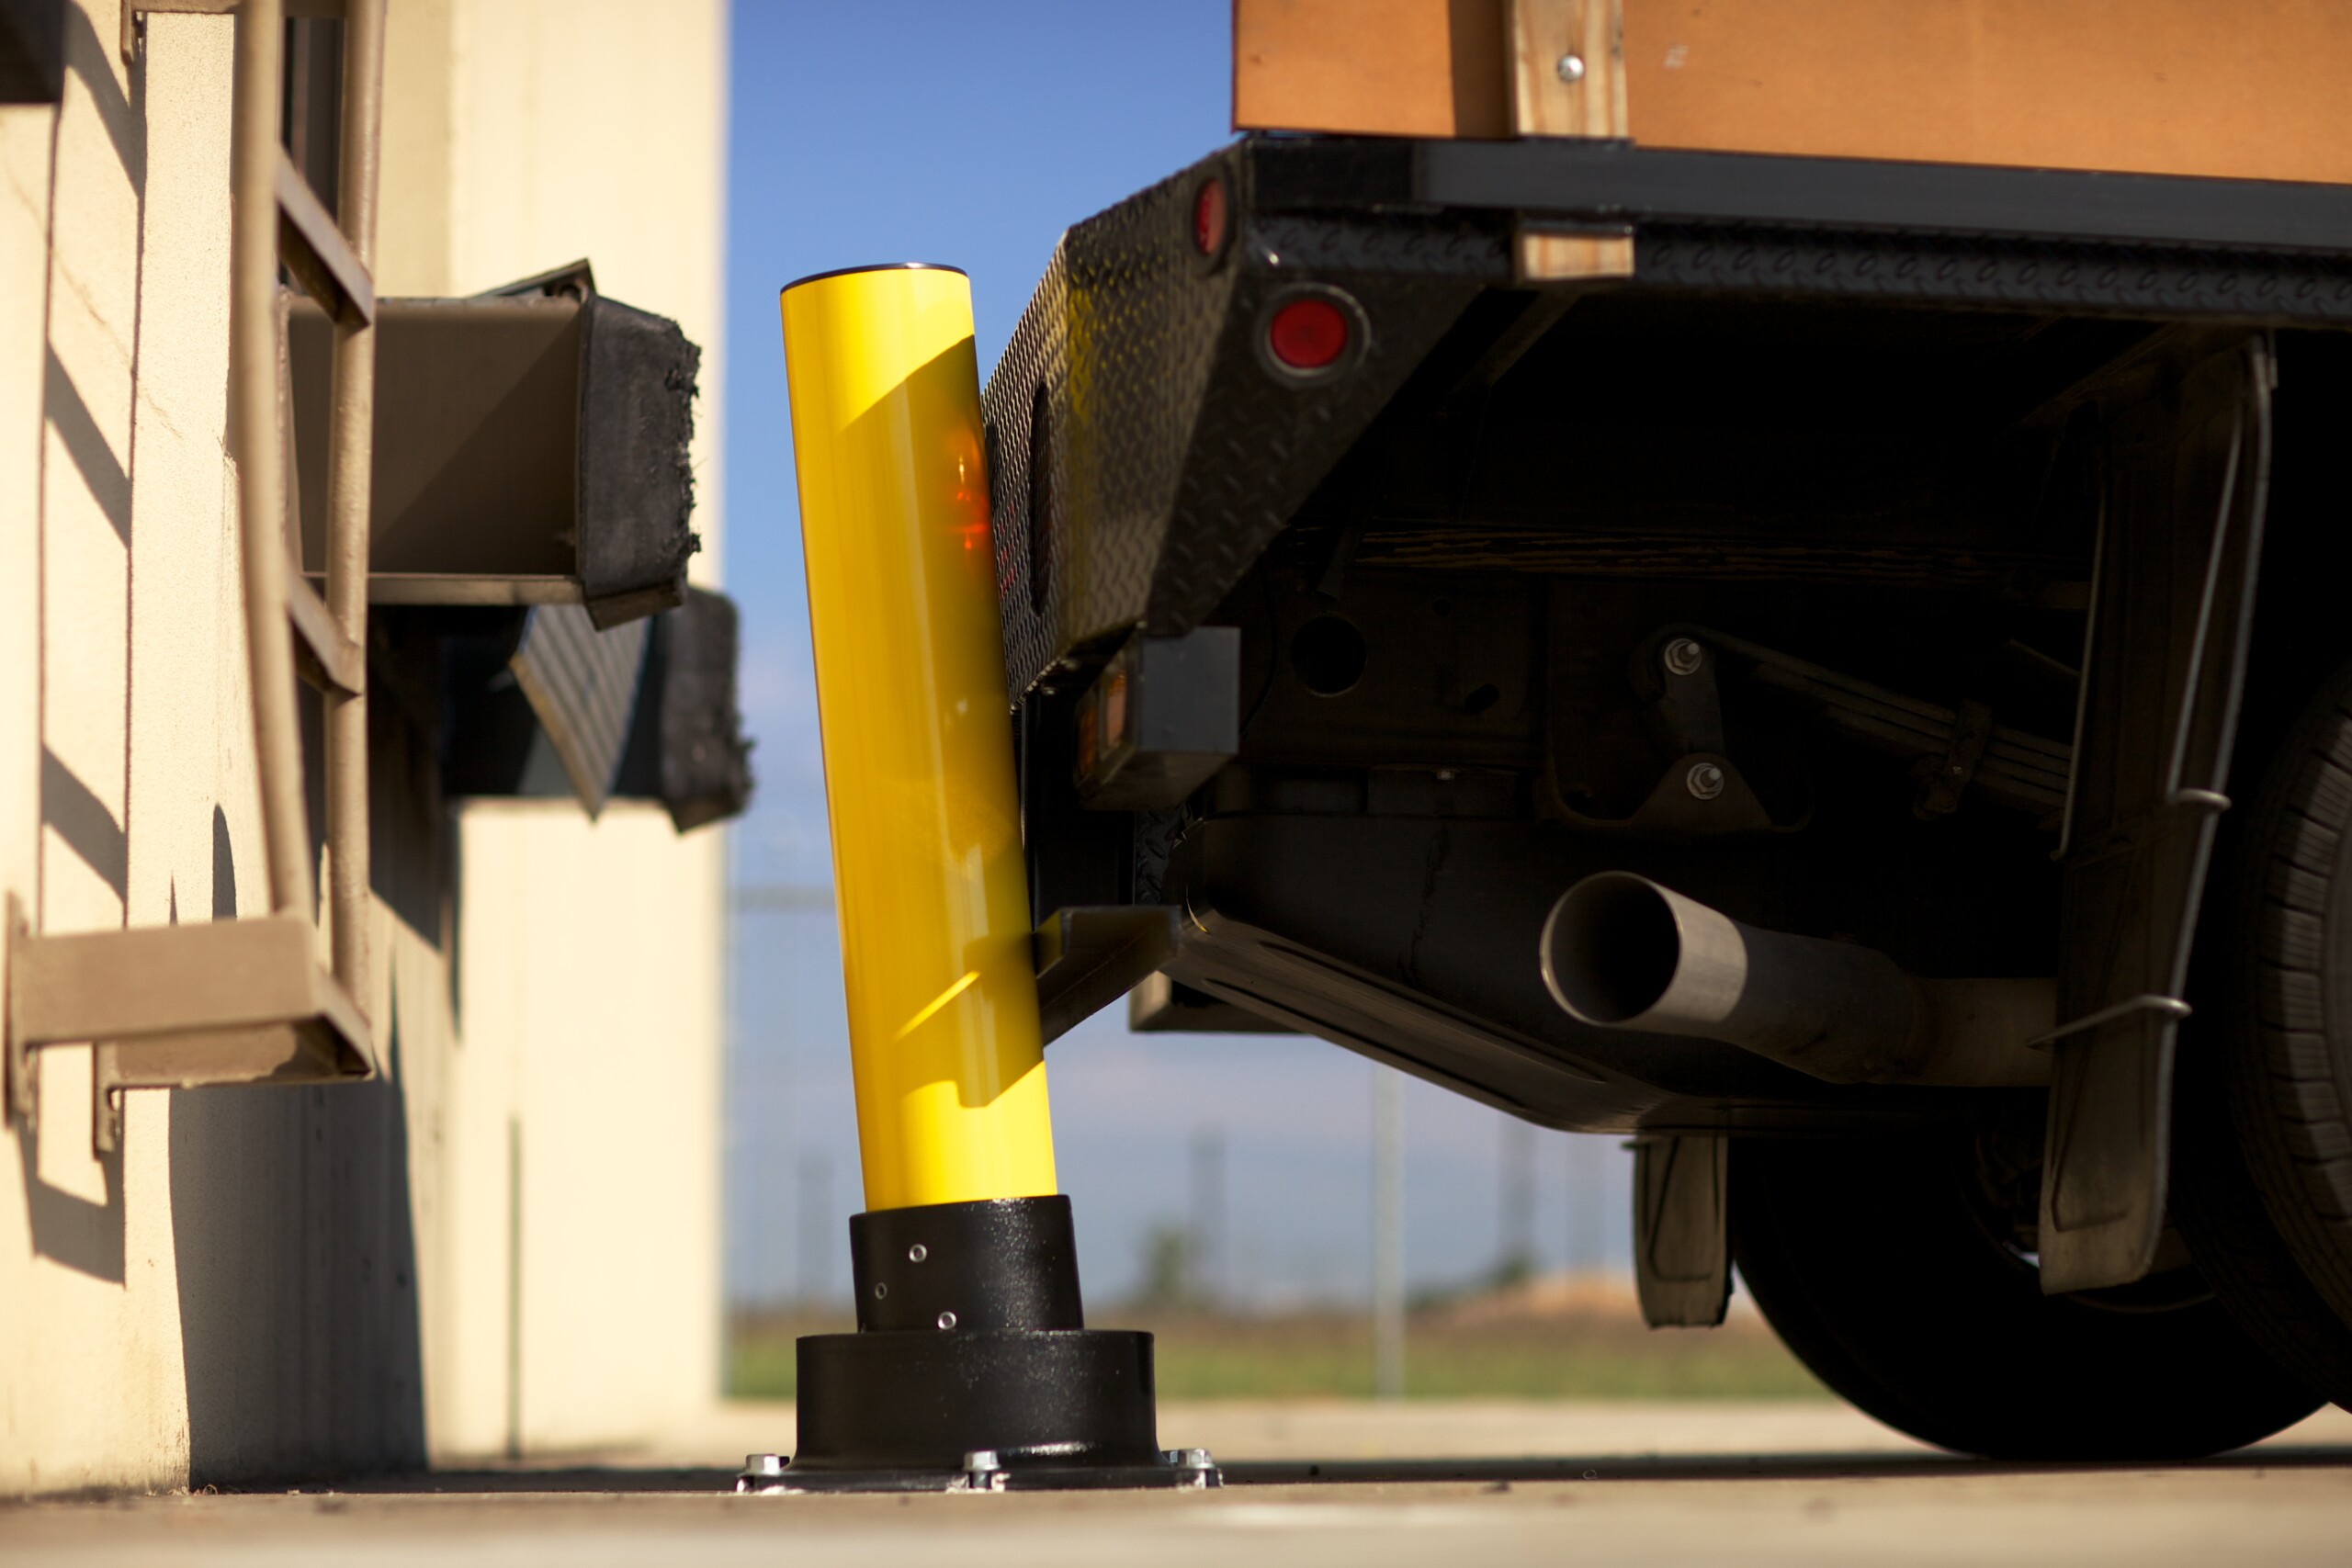
Image: A bollard protects the building by absorbing the vehicle’s impact energy
Step 3. Locate underground services before you dig
Hitting buried power or gas lines is dangerous. Locate all underground utilities first.
This step is relevant if you are installing in-ground bollards or putting in concrete footers to anchor your posts.
Before you dig:
- Contact your local utility companies and request a professional service location. They’ll identify underground utilities like power lines, gas lines, water pipes, and communication cables.
- Consider a ground scan to detect unmarked utilities.
- Document everything from service maps to site notes. This is useful for future work or repairs.
Don’t skip this step! Hitting an underground utility can be incredibly dangerous and expensive. Check out ‘before u dig’ for help.
Step 4: Check surface type: Is it concrete or asphalt?
Critical note: Barriers and bollards can only be anchored to concrete. All other surfaces will require prep work.
Your current surface will determine your installation method and amount of preparation work:
- Existing concrete slab (at least 100mm (4 inches) thick) and in good condition – you can bolt directly to it.
- Asphalt requires new concrete footings. It isn’t strong enough to provide a secure anchor. (See below for sizes)
- Other surfaces (Gravel, Soil, etc.): These will require concrete footings to provide a stable base for the barriers.
Step 5: Prepare correct footings based on barrier type
Footing dimensions and depth vary slightly, depending on the equipment. Get this right to ensure long-term strength.
If you’re installing barriers in an area without an existing concrete slab, you’ll need to pour concrete footings of at least 25MPA.
The recommended footing sizes of different bollards and flexible barriers (for each post) are:
- 400mm (L) x 400mm (W) and 300mm deep: Tru-Gard steel barrier and D-flexx Mono Plus, Mono, Dual and Dual Plus flexible barriers
- 400mm (L) x 400mm (W) and 400mm deep: D-flexx bollards and ForkSafe barriers:
- 300mm (L) x 300mm (W) and 300mm deep: D-flexx Pedestrian barrier:
You will need to allow the concrete to cure properly before installing the barriers. This will ensure maximum strength and stability.

Image: In-ground galvanised steel bollards installed in a concrete footing
Step 6: Remove obstructions and plan for clearance
Clear the installation area of anything overhead, underground or in the path of vehicles or pedestrians.
To avoid introducing new hazards to your worksite, check for:
- Roof overhangs, pipes, or structural obstacles.
- Manholes, drainage, or underground hazards.
- Pedestrian or forklift traffic paths.
What seems obvious is often missed. Making sure your workspace is clear will keep workers safe and streamline your installation process.
Step 7: Gather tools and personal protective equipment
Having the right tools and PPE on hand speeds up installation and prevents injuries.
Some common things needed for an installation:
- Heavy-duty drill and appropriate anchors for bolting the barriers to the concrete (bolts are supplied with Vanguard products)
- Cutting saw for concrete footing prep into existing asphalt surfaces.
- Shovels, picks, and a wheelbarrow.
- Safety gear like eye protection, gloves, and a hard hat.
- Temporary signs or barriers to zone off hazards.
Step 8: Understand local regulations and permits
Local councils may require permits, especially near public roads or fall zones. Check before you start.
Check with your local authorities to see if there are any regulations or permits required for installing barriers or bollards on your property. For example, in New Zealan,d the Building Code requires a barrier if someone could fall more than 1m. You can check with your local council for transport laws you must comply with if your property is close to a public road.
Step 9: Document site prep and installation details
Photos, utility maps and installation notes will save you headaches in future repairs or inspections.
Why does it matter? You can use this information in future projects and when carrying out maintenance and repairs. It will help with safety audits, achieve consistency across sites and support insurance claims!
Step 10: Prioritise safety throughout the installation
You’re installing safety equipment, so make sure the process itself is just as safe.
Wearing appropriate safety gear (step 6) and following safety procedures will keep workers safe while your barriers are installed.
Use high vis vests and set up exclusion zones if needed. Assign someone as the safety lead to monitor the process and enforce restricted access to the area.
Taking the time to prepare your site properly, you can ensure a smooth, safe, and effective installation of your barriers and bollards.
Need Help?
Now you know the 10 essential steps to get your warehouse ready for barrier and bollard installation.
Before rushing in, check for underground services, surface conditions and compliance requirements so you don’t waste time, money or compromise safety.
If you are still unsure about whether your site is ready, our team is here to help. At Vanguard, we specialise in warehouse safety, so give us a call and we can help you do it once, and do it right.